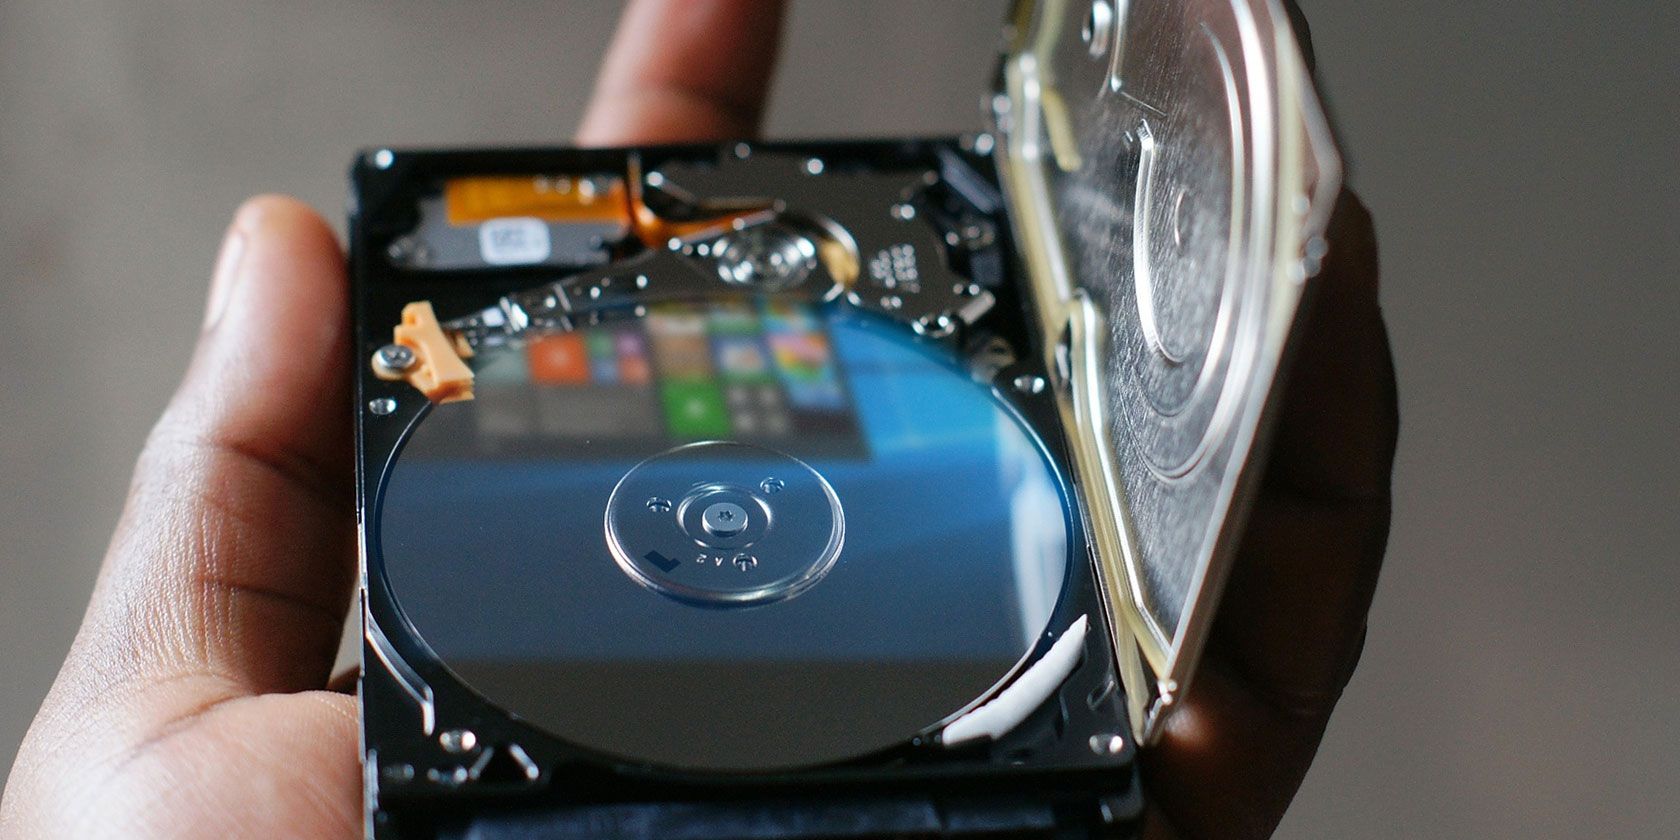
You know it’s coming, the warning signs are there, and all of a sudden: you’re out of disk space. Although this isn’t as much a problem now as it was a few years ago—since hard drives are now both expansive and affordable—it’ll occur sooner or later.
Especially if you’re a gamer or designer using a PC laden with large files, folders, and programs. You may be asking “Well I’ve already run every cleaner out there, what’s next?” Read on!
Note: The following article assumes that you regularly clean your PC. If you rarely do, head to the following article for a brief on PC maintenance.
1. The Red Bar
You can only download files online for so long before they get a hold of you. Worse yet, that speedy SSD can easily get bogged down by the occasional large program.
If you’ve already received warning from your Windows PC that your storage space is low, check it yourself by clicking your start menu and typing in file. Select the File Explorer option.
Scroll down the left-hand side of the window and select This PC.
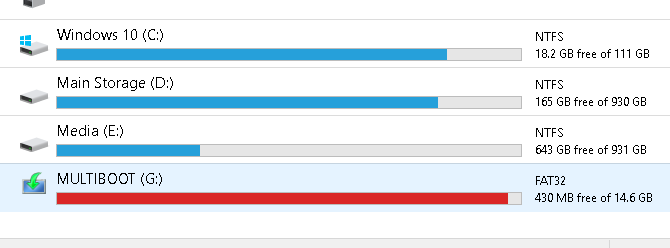
The above is an example of a flash drive filled to capacity. Your storage will appear red when it is near full. You will also receive notifications from your PC when your storage is at full capacity.
If the hard drive your OS is installed on is full, your PC will freeze and, at times, cease to function until you clear some storage space.
2. Disk Cleanup
The first thing you must do to fix a slow storage issue is clear the trash present on your PC. It won’t budge your PC much, unless you’re long overdue for a cleaning.
There are plenty of tried and true ways to clean PC clutter. Disk Cleanup is the default method to clear trash on Windows 10, and it works surprisingly well.
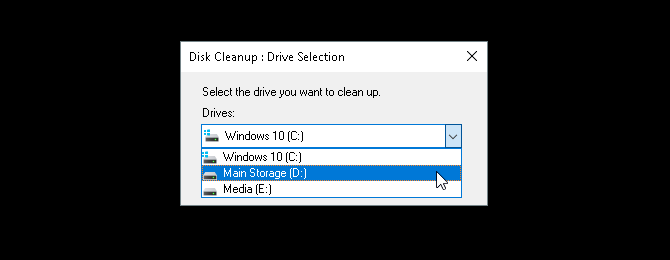
Click on your start menu and type in disk cleanup. Select the Disk Cleanup option, and then select the drive you want to clean.
You’ll be presented with a selection of options to choose from.
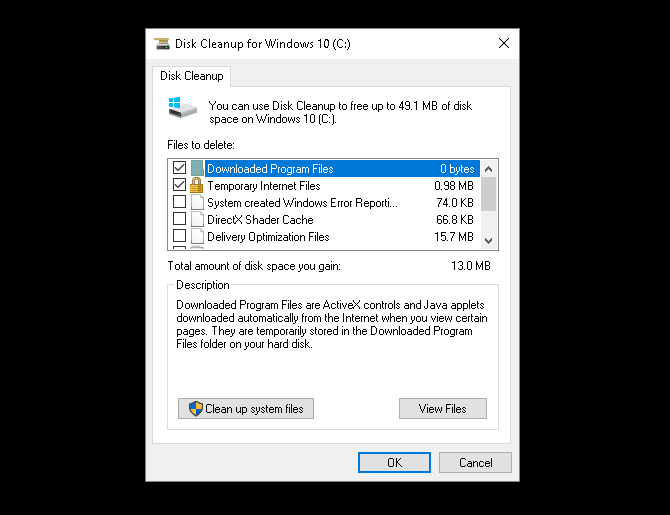
To make some emergency space, the following options are the least invasive and won’t require you delete necessary files:
- Downloaded Program Files
- Temporary Internet Files
- Thumbnails
- Temporary files
- Recycle Bin
That’ll take care of extraneous files, and should stop any hiccups you may be experiencing from the lack of storage.
3. Clean Up System Files
System files can seriously bog down your PC. To view what extraneous system files you have on your PC, select the option labelled Clean up system files at the bottom of your Disk Cleanup window. You will have to re-scan your drive.
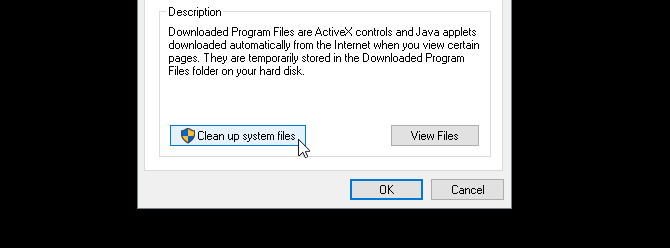
There are a few important entries in the following selection that may free up a considerable amount of disk space. These are:
- Windows Update Cleanup: “Windows Update cleanup deletes or compresses older versions of updates that are no longer needed and taking up space.”
- Previous Windows installation(s): Deletes previous versions of Windows located in your local drive, which are typically reserved as backup operating systems.
Both of these options, if available, are safe to delete if your PC is otherwise in good working condition. Previous Windows installations typically delete automatically after about 30 days.
4. Uninstall Programs and Apps
The best way to create space in your PC is to uninstall otherwise unused programs. Everyone installs programs they don’t need. Over time, those unused programs can really add up.
First, start by running your default uninstall program. Click on the start button and enter control panel. Select the Control Panel option. Then head to Programs > Programs and Features.
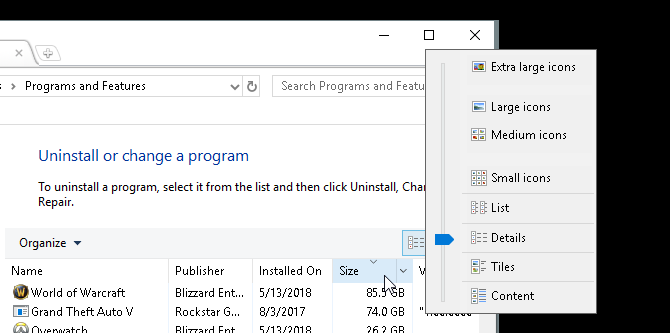
It’s a good idea to clear the largest possible installed programs you don’t use first. To organize your programs, click on the Organization icon to the top-left of your window and drag the blue slider to Details.
Then, click on the Size tab in your window. Your programs will appear in descending order according to size. Begin to scroll through your programs, and delete the programs you don’t use anymore by right-clicking your program and selecting Uninstall/Change.
Third-Party Uninstaller Programs
While the default uninstall program works well, it may also leave behind large, hidden files. To ensure you’ve completely deleted your files, you may want to look into installing a third-party uninstaller program.
My personal recommendation is Revo Uninstaller. It both locates and delete extraneous files associated with the program you uninstalled. Revo Uninstaller can also locate programs on your desktop that don’t typically appear in uninstall applications.
5. Locate Large File “Chunks”
An unfortunate side effect of digitized art and entertainment is storage clutter. If you design, game, or watch movies, huge chunks of your PC’s storage will be dedicated to large files.
The issue? Those large files are often embedded in obscure folders.
To visualize and locate large files, you’ll need to download and install WinDirStat. This program seems frozen in time, but WinDirStat is absolutely crucial when it comes to locating the particular size and scope of folders on your PC. Another good option is WizTree.
Install the application once you’ve cleared a bit of space on your PC. Then, run it by clicking your start menu and typing windirstat. Select the WinDirStat option. Finally, select one of the following options and click OK.
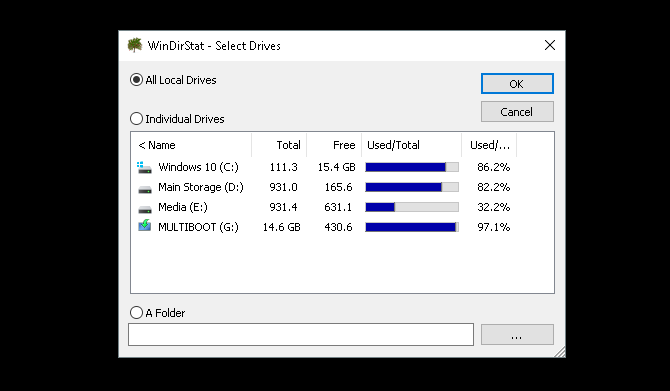
You can search all your local drives, including USB drives, individual drives, and even individual folders. Once you choose your selection, the program will load the display of your local files.
This process is both time-consuming and intensive, so limit the use of other programs like games or graphic editors.
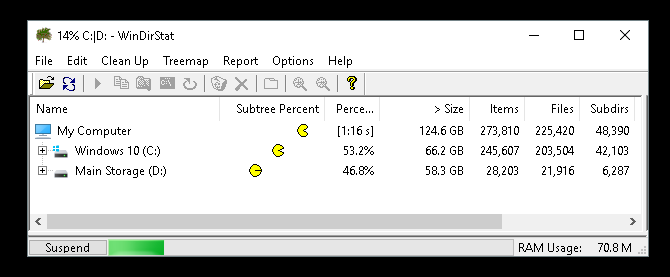
Once you’re files are loaded, you will be presented with a color-coded display of your files and folders.
Larger blocks are single chunks of storage. Similar colored blocks are individual files located within the same folder.
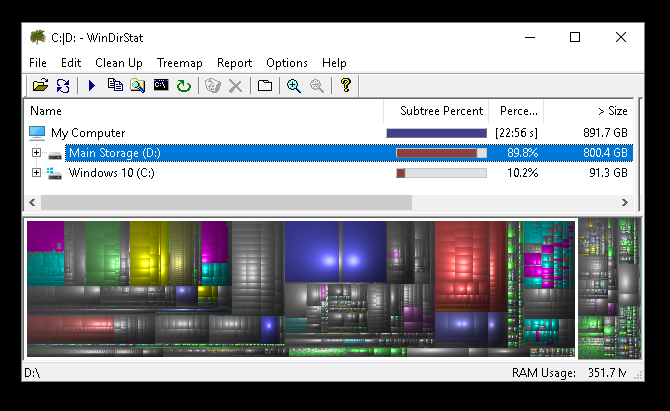
Click on individual blocks on the bottom of your window to view the location of the file above.
You’ll note that most composite chunks of storage will be used for games or system folders.
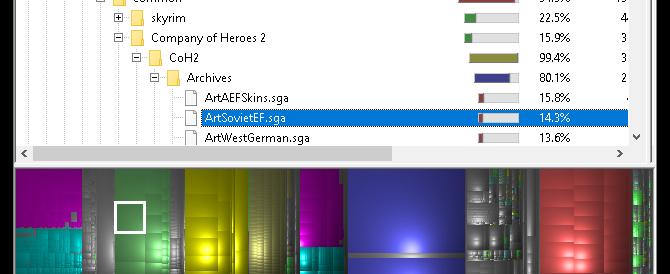
Click on large, single chunks, as those will clear the most clutter. Try to locate a downloaded ZIP or game add on you’ve forgotten about or stopped using.
They’re surprisingly easy to find, since the average PC user downloads so many different files and applications over the course of a hard drive’s lifespan.
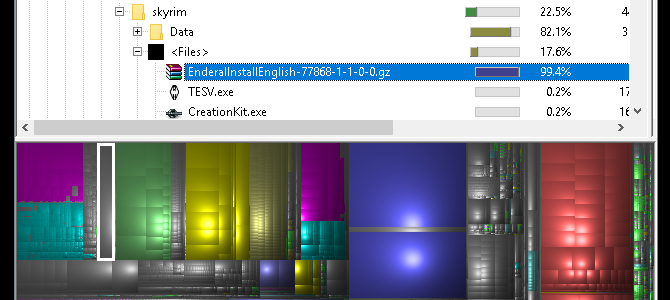
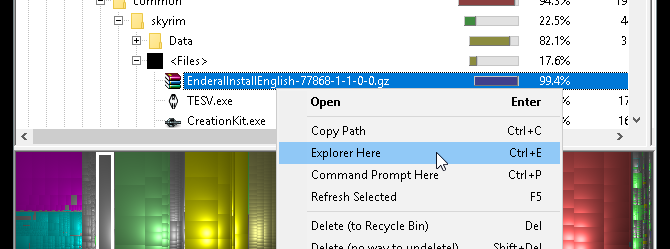
Right-click on your file and select Explorer Here. This will open your default file explorer to the selected file. Then, simply delete the file or folder.
Keep in mind, deleting parts of a program or game may render them obsolete. If you’re going to delete a file, ensure that it is not necessary for the use of another. Large, forgotten downloads are perfect candidate.
Cleaning Up Even More Disk Space
A download here and there, and next thing you know your PC has ground to a halt. It can be stressful trying to decide what file to remove when you’ve already exhausted typical cleansing tools.
No worries, now you know exactly how to go about clearing all that unwanted clutter. If necessary, keep going with our article on freeing up extra disk space in Windows 10.
Read the full article: Low Storage on Windows 10? 5 Tips to Help Reclaim Your Disk Space
from MakeUseOf https://ift.tt/2O7gWph
via IFTTT
0 comments:
Post a Comment