
The Bullet Journal system is all about keeping a handwritten journal, but that’s not to say that you can’t use digital tools to simplify the process of creating your Bullet Journal layouts.
With advanced design apps like Illustrator or basic tools like Microsoft PowerPoint and Apple’s Keynote, you can breeze through creating your templates, and focus on getting things done. Here’s what you’ll need to create your own Bullet Journal templates.
1. Digital Dotted Paper
Dotted grid journals are among the most popular choices for Bullet Journal enthusiasts. If you want to design your templates with that grid in mind, or plan on printing out your templates, you can generate digital dotted paper with Incompetech.
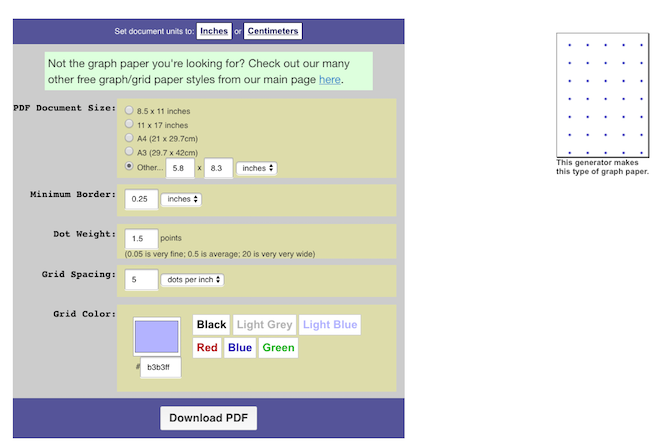
If you’re a Bullet Journal purist and want to stick to the popular A5 Leuchtturm journal, you’ll need 39 dots down and 27 dots across. To generate one side of an A5 journal with Incompetech, you can use the following specs:
- Page size: 5.8 x 8.3
- Minimum border: 0.25 inches
- Dot weight: 1 point
- Grid spacing: 5 dots per inch
You’ll end up with one extra row, but it’s close enough—and you can always remove the extra row in Illustrator.
The final file is saved as a PDF, which you can then use in your vector app as the basis for your templates.
If you’re planning on printing these out and placing them in a binder, you can use the same specs as above with an A4 or letter page, to get the same size boxes.
2. Design App
Now you’re finally ready to design your layouts, with several options to choose from based on your design skills.
We’d recommend first printing out your dotted grid and sketching out your basic layout by hand to figure out where everything’s going to go.
It doesn’t have to be pretty, but this is a good way to get a basic sense of what you want your template to look like.
Adobe Illustrator
An easy way to create your own Bullet Journal templates is to use a vector app like Adobe Illustrator. If you’re already an Adobe Creative Cloud member, the choice is a no-brainer.
Illustrator makes it easy to create tables which you can use to create your monthly and weekly layouts. To get started, open up the PDF you generated from Incompetech in Illustrator.
- (Optional) Select all the dots using the keyboard shortcut Ctrl/Cmd + A and group them using the keyboard shortcut Ctrl/Cmd + G.
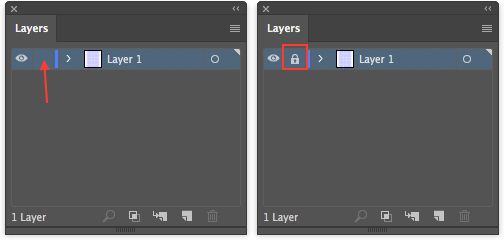
- Open the layers panel by going to Window > Layers.
- Check the box as shown below in the screenshot to lock the layer. If done correctly, you should see a lock icon appear. This will prevent you from inadvertently moving the dots.
Now you can begin to design your layouts. You can create a monthly grid, for example, in a few easy steps (just remember to select Landscape orientation when you create your new document):
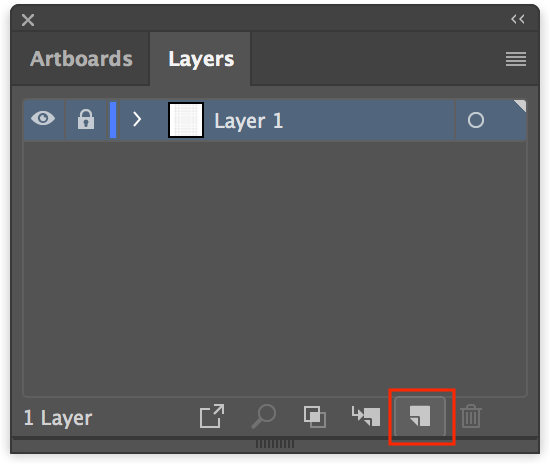
- After you select the layers panel, click the New Layer icon.
- Go to View > Snap to Point and make sure it’s toggled on, so your shapes snap to the dotted grid.
- Draw a rectangle using the Rectangle Tool (Keyboard shortcut M).
- With the rectangle selected, go to Object > Path > Split into grid.
- In the dialog box that opens, choose the number of rows and columns you want. (If you’re creating a monthly calendar with the days of the week listed at the top, select seven columns and seven rows.)
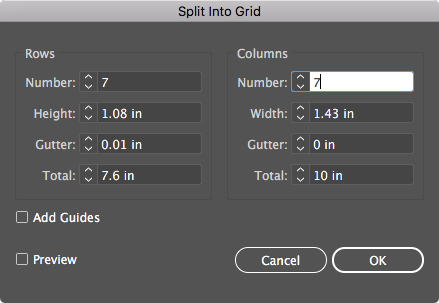
The grid is actually composed of individual boxes, so you can select the entire top row using the Select tool (Keyboard shortcut V). Click and drag your mouse across the top row of boxes and then use the anchor point in the center to narrow the size of your rectangles for the days of the week.
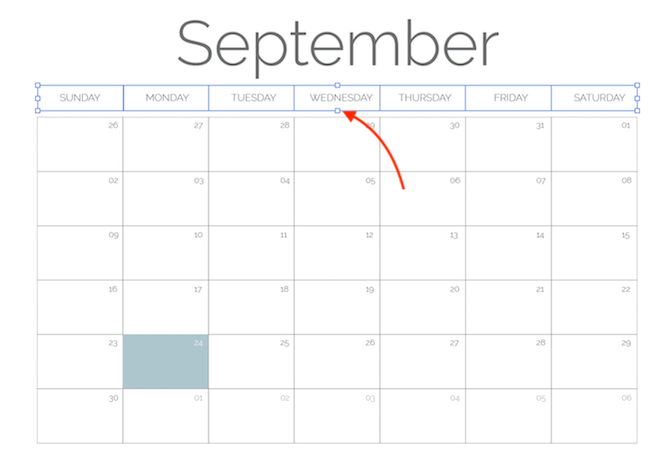
Use the text tool to add the days of the week and the number dates for the month, and the fill tool to change the color of significant dates. (You can select a color scheme for your Bullet Journal using Adobe Color.)
You can also get creative with the use of shapes in Illustrator, switching things up with other shapes like polygons and circles, and even create your own shapes using the pen or pathfinder tools.
Using a vector app means you can work quickly, easily duplicating layouts for each month, and duplicating repetitive shapes within a layout. And if you don’t want to pay for a vector app, there are plenty of decent free alternatives to Adobe Illustrator.
If you have an iPad Pro or 6th Gen iPad that supports the Apple Pencil, there are plenty of ways you can hand draw your templates, but with the added benefit of apps that make it easy to draw straight lines.
Microsoft PowerPoint or Apple Keynote
If you find Adobe Illustrator overwhelming or don’t want to pay for access to the program. there are plenty of apps you probably already have on your computer like Microsoft PowerPoint and Apple Keynote.
Each program has basic shapes, lines, and the ability to create tables. And you can save your templates as PDF files.
- In PowerPoint, click the Insert tab and you’ll find the option to add tables, shapes, icons, pictures, and more.
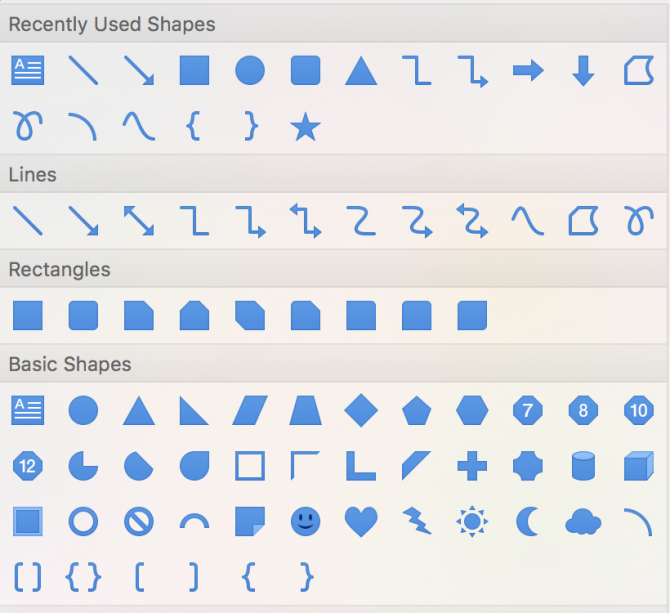
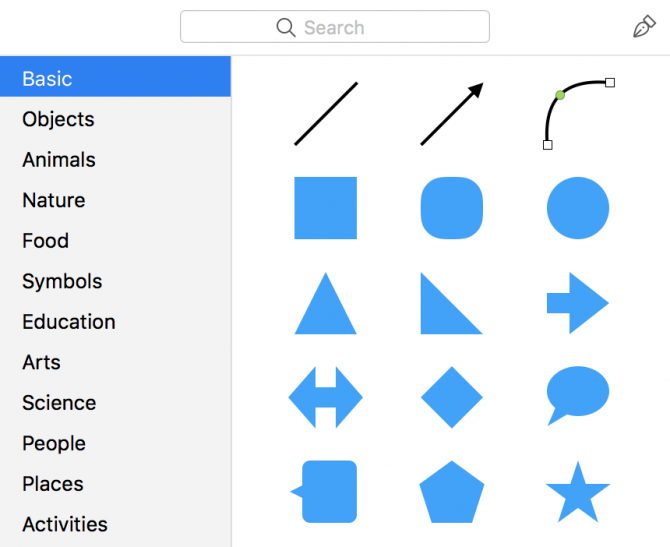
- In Keynote, click Insert in the menu to add tables, shapes, lines, and images.
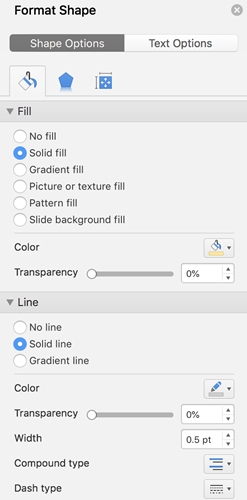
In both programs, you can also find formatting options for your shapes. You can change the fill color and transparency, the stroke color and type, and you can also add design elements like drop shadows.
Both apps also make it easy to align shapes and text, with elements of your design snapping into place.
3. Stickers and Fonts
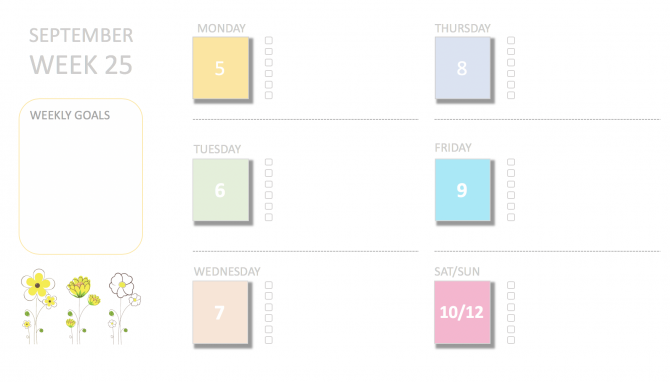
Bullet Journals are all about being productive and keeping track of your to-do list. But there’s no harm in making it pretty as well.
When you maintain a digital bullet journal it not only saves you time but also gives you the option to easily use icons and digital stickers. You can use them to make your templates look pretty regardless of your creative skills.
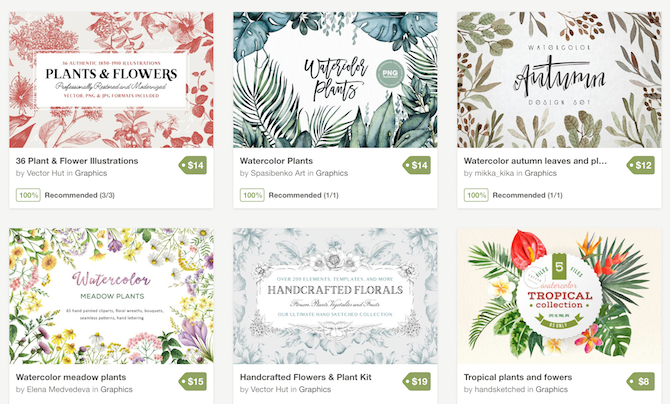
You can find digital PNG files on graphic design marketplaces like Creative Market (keep an eye out for their weekly freebies) or the completely free Pixabay.
You can also find icon files on sites like The Noun Project and interesting fonts on sites like FontSquirrel.
Make sure that anything you download is in the PNG format. You can then place them on your template without obscuring the dotted grid, or anything else on your layout.
Using Your Bullet Journal Templates
When it comes to using your templates, you can print them out and put them in a binder.
If you’d rather keep the entire process digital, you have two main options. You can import them into a mobile note-taking app and write directly on your template with a stylus. Have an iPad Pro or 6th generation iPad that supports the Apple Pencil? GoodNotes 4 is a popular paid app that plenty of Bullet Journal enthusiasts use. Another popular choice for creating templates and doodles is the iPad app Procreate.
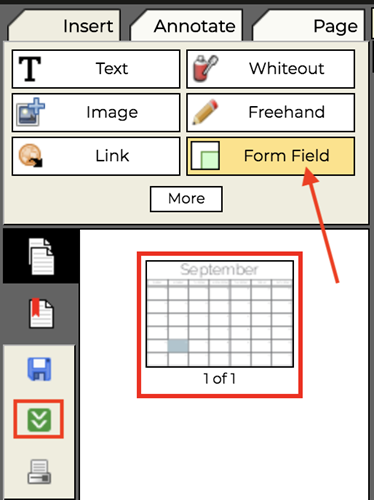
Or you can make an editable PDF. Once you’ve saved your PDF, go to PDFEscape:
- After you’ve uploaded your PDF, click Form Field and select Text or Text Paragraph.
- Click and drag to insert fields wherever you want to be able to type in text.
- Click the green download button.
You can then open your PDF in your browser or PDF editor of your choice and type in your info.
And don’t forget: as you begin designing your own templates, you can always turn to Instagram or Pinterest for more Bullet Journal inspiration.
Read the full article: How to Start Making Your Own Bullet Journal Templates
from MakeUseOf https://ift.tt/2OCp9z3
via IFTTT


0 comments:
Post a Comment