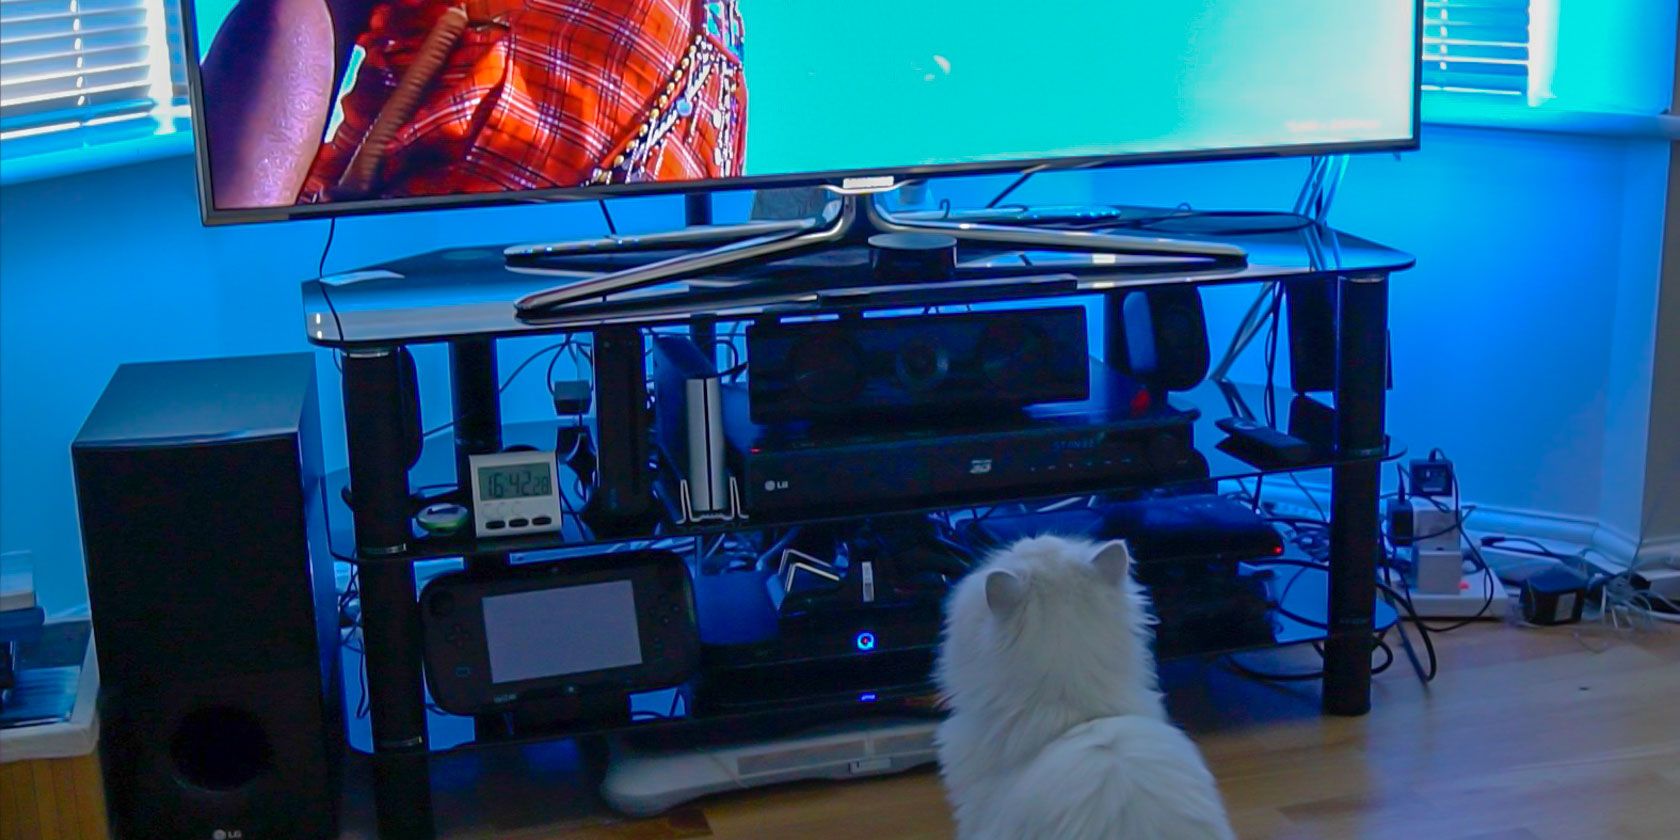
Cost-effective, relatively easy to install and retrofit to any TV. iHoment is the perfect immersive addition to entertainment setup.
If you’re looking to set the mood in your entertainment areas, ambient lighting is one of the best ways of accomplishing this. There are a plethora of LED strips available online and at the high end we have systems like Philips Hue and the innovative Nano Leaf.
But ambient lighting can also be used to increase levels of immersion by syncing with what’s happening on your screen. Achieving this can prove to be challenging for a number of reasons. Has the MINGER iHoment kit solved these problems in a cost-effective and easy way? Let’s find out – and at the end of this review, you can enter our competition to win a kit for yourself!
Specifications
- Small SKU size: 6.23ft of LEDs for 40″-55″ TVs
- Large SKU size: 7.22ft of LEDs for 46″-60″ TVs
- Connectivity: Bluetooth
- App Support: iOS and Android
- Video Source: Anything displayed on the TV
What is an Ambilight?
Ambilight is a trademark for the immersive lighting technology that Philips launched in 2004, with lighting on the rear of the TV that reflected on-screen content. To date, they’re the only manufacturers to build this technology into the TV itself. Unfortunately, the TVs aren’t sold in the US any more. Various attempts have been made to retrofit this functionality to other TVs, but have been unsuccessful due to cost, complexity, or limitations.
Our own ambilight DIY project required a Windows PC to playback the content and capture the image, but you can do the same with a Raspberry Pi and HDMI capture device for any input source:
For a ready-made kit, there’s LightBerry, but it costs upwards of $300.
iHoment have an innovative solution that keeps the cost and complexity low: it mounts a camera on top of your TV.
Getting Started
Packaged in the box are the LED strip, the controller, a camera, four electrostatic stickers and a tape measure.
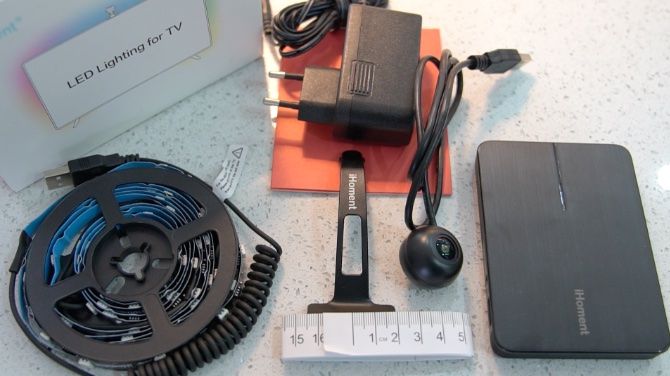
The LED strip is made up of three pieces. One vertical side with a USB connector, followed by the horizontal longer piece, and finally the last vertical piece. Each side is connected via a flexible cable making it easy when it comes to installation.
The first step would be to clean the back and top side of your TV and be sure to remove any dust that may have settled. Ideally, you want to place the TV face down on a soft towel, or if you’re extra lazy like me install it in place and get a friend to help out.
Installation
The orientation of how you install the strips is very important. If you’re looking at the rear side of the TV, ensure the vertical strip with the USB connector is going to be applied on the right-hand side. It may be a good idea to do a test fit without removing any adhesive tape to get an idea of where you’re going to be sticking the strips.
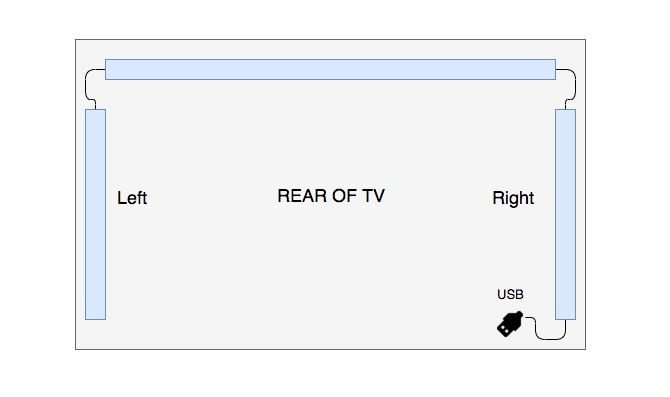
Once you’ve got the orientation correct, remove the adhesive tape from the middle piece and press down along the length of the strip. Do the same with the vertical side pieces and let’s move on to the camera.
The camera is going to be installed on the top surface of your TV and needs to be parallel with the ground. Not all TVs are going to be completely flat on the top so you may need to fashion something out of Sugru or play dough in order to install the camera correctly. If your camera doesn’t seem to be parallel the mount can be bent easily to get the perfect fit.
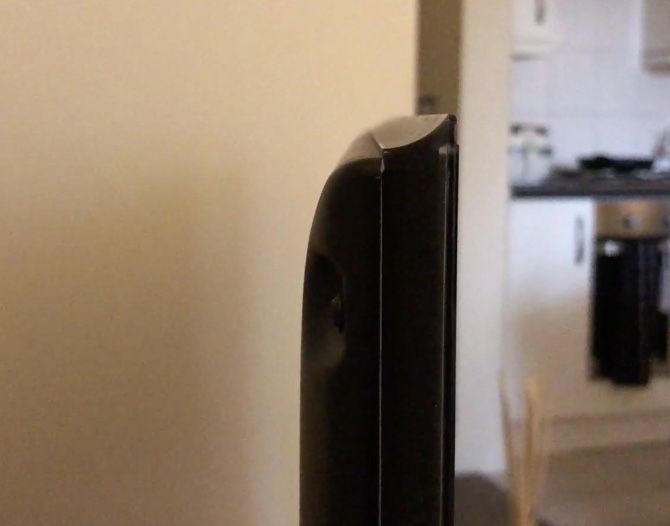
The camera needs to be precisely in the center of your TV. Using the tape measure, and a whiteboard marker, mark the center of your TV on the bezel. You can also mark the camera mount to make lining up the camera and the bezel much easier. Remove the 3M adhesive tape and stick the camera to the top of your TV.
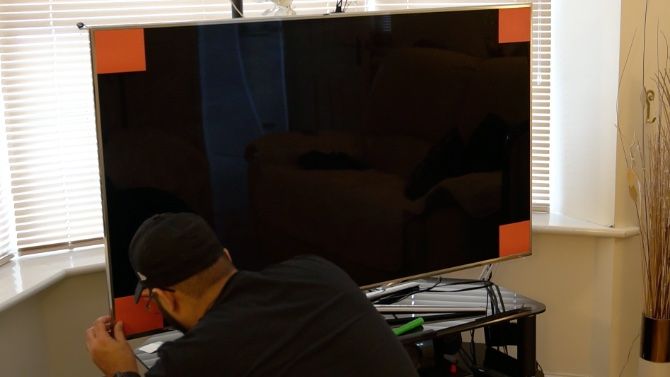
Finally, stick the four electrostatic stickers on the four corners of your TV. Fortunately, being electrostatic they are not going to leave any residue, which again is well thought out on iHoment’s part. Be sure to preserve these stickers in case you need to recalibrate the LED strips.
Calibration
If there are any red items in the periphery or line of sight of the camera, put them out of sight as it can interfere with the calibration. Ensure your TV is powered off and connect the camera and LED strip to the controller box. Finally, hook up the power (to the iHoment controller that is, not your TV). Quickly move away and make sure there’s at least a meter between yourself and the TV to make sure calibration happens correctly.
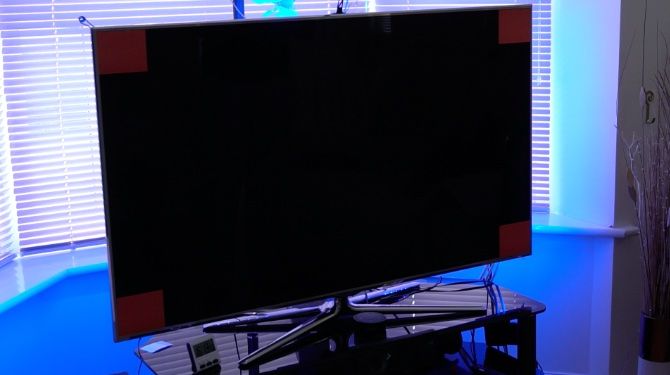
The LED strip will cycle through a few colors and when it stays solid white calibration is complete. If for any reason this is not the case you need to leave the stickers in place and re-run the calibration from within the app. I had to recalibrate one more time after initialization for the strip to work correctly. It also helps to keep the room lights switched on when calibrating the strips.
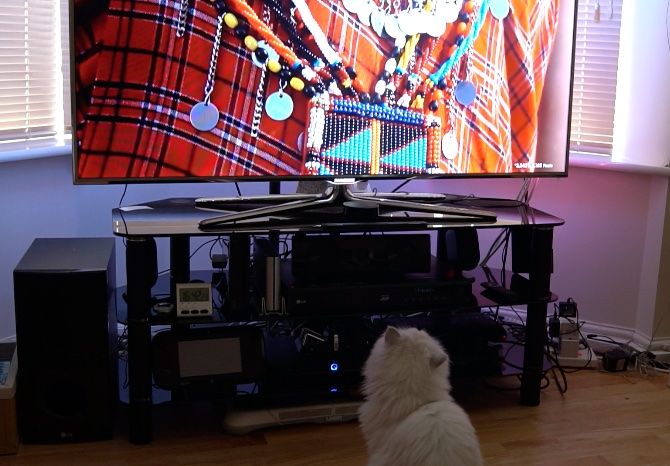
Power on your TV, and run a few quick tests to check if all your hard work has paid off. If you have access to YouTube you can search for “Ambilight Test” and have your TV cycle through a few colors and put the strip to the test.
Sit Back and Enjoy
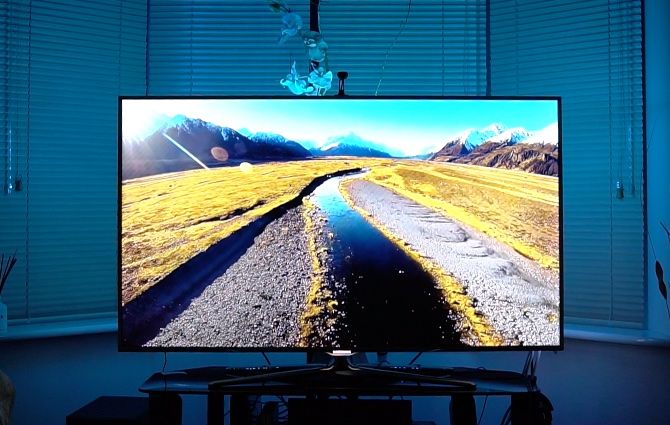
The result is absolutely stunning. Your TV which once was a simple animated picture frame is now a window into another dimension. It almost feels as if the TV is extending beyond its frame into the rest of the room. The iHoment doesn’t feel intrusive but rather adds to the ambiance complimenting every scene.
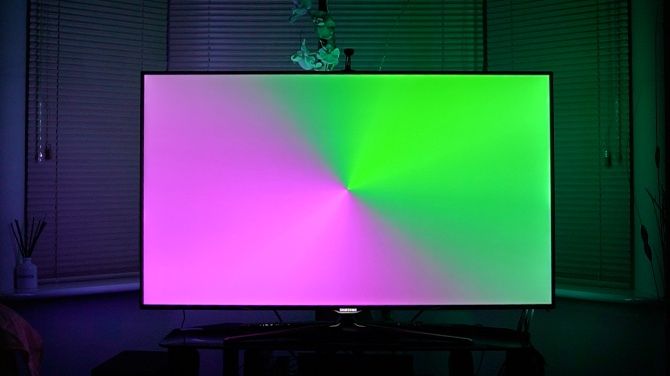
It’s quite difficult to translate over video or in pictures but it is something you just have to experience. When technology like this comes along some may not see it as necessary but there’s no disputing how impressive it is. But how does it compare with the likes of Philips Ambilight?
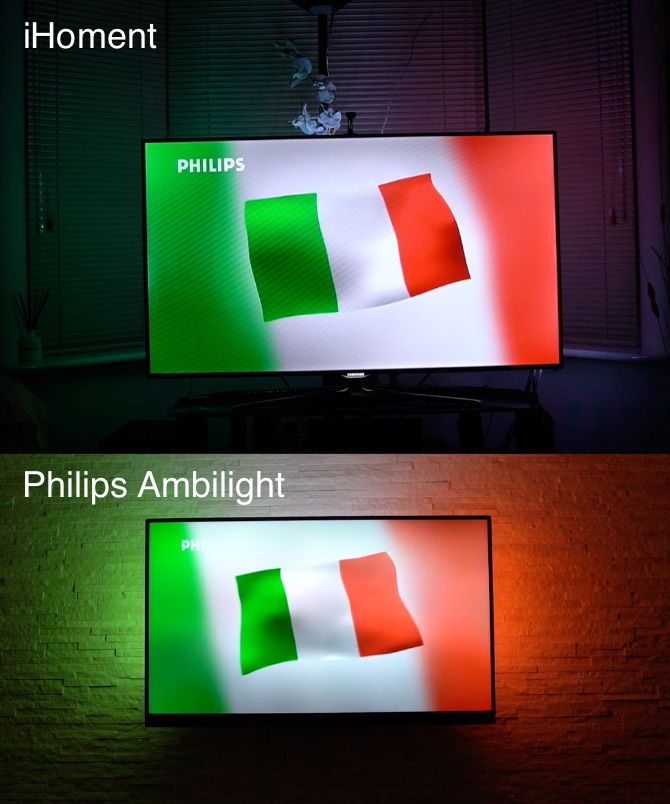
Inherently, this is an apples to oranges comparison as Ambilight have their LEDs baked into the TV. Relatively the Ambilight has a few more milliseconds of latency but it’s by no means sluggish. The colors on the Ambilight are also slightly more accurate for some of the colors but I doubt this will be very noticeable in regular usage.
The App
You can find the iHoment app on the App store or the Play store. Make sure your Bluetooth is switched on and fire up the app. Your mobile device will begin searching for the iHoment controller. When you initially pair, you can rename the device, in case you want to pair to multiple controllers.
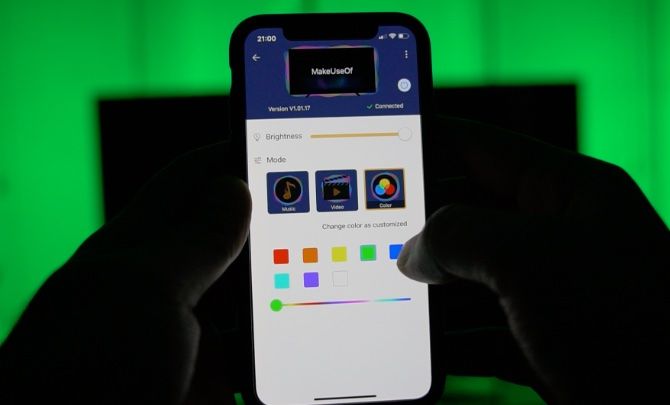
The app has essentially three modes; music, video, and color. Music activates a microphone in the controller box and the LEDs change based on sounds. Color, as you guessed allows you to statically set the color of the lights. The color picker does seem a little sparse, compared to a color wheel style picker similar to the Philips Hue.
Having an app to control the iHoment is brilliant. Many of the cheaper LED strips are paired with an infrared remote which is less convenient. Not to mention the app can be upgraded to include new features.
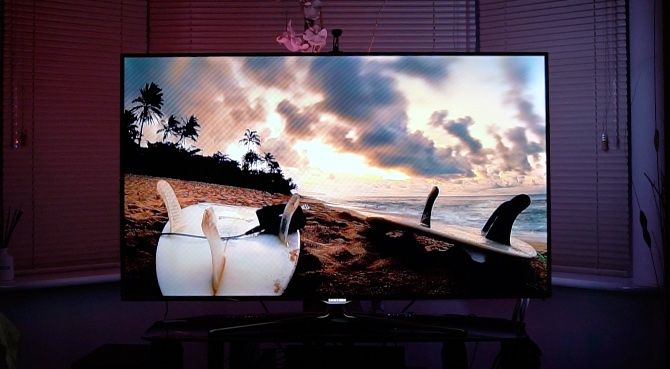
Predominantly you will leave the system in dynamic video mode which is where all the magic happens. The iHoment detects if your TV is on or off and switches both on and off with your TV. This is a great feature that means usage is generally a case of set and forget.
Do You Want an Ambilight For Your TV?
iHoment has put in a huge amount of effort with this device an it shows. The fact that you can retrofit it to almost any TV, isn’t dependant on HDMI, and is simple to install compared to a fully DIY solution, makes the iHoment the ultimate accessory to your entertainment system.
There are some areas where they could improve. Such as making the user manual a little easier to follow and the aforementioned color picker. It would also be nice if the transitions between static colors faded into each other. However, this can probably be added as a firmware update to the controller.
The iHoment has good color detection in my experience and exceeded expectations. If you’re looking to take your video or gaming experience into the next level, there just isn’t another system as cost-effective as the iHoment.
Enter the Competition!
iHoment Retrofit TV Backlight KitRead the full article: Forget Philips Ambilight: iHoment Retrofit TV Backlight Does The Job For $60
from MakeUseOf https://ift.tt/2wyH9SS
via IFTTT
0 comments:
Post a Comment